
This is sure to be the most boring blog post of all time. Certainly our most boring product development story. There’s just not much to say on this one!
Still reading? Ok, here goes….
Marlo, my husband, and I were sitting at a barbecue restaurant. They had average size paper cups with plastic lids and really, really long straws. Marlo was a toddler at the time and this combo was awkward for her. She kept tipping the cup back and spilling all over herself.
I always forgot this point before heading out to their restaurant so I was never prepared. To fix the problem, I’d go up to the register, borrow their scissors, and cut the straw to a shorter length. Ew, I know. Those scissors were far from clean. But I did it anyway because she was getting drenched.
About the same time, we were becoming more eco-conscious as a family and trying to become less reliant on disposable paper and plastic. I’d been planning to switch to reusable straws anyway, but there were things about the straws available that I didn’t like: it was tough to get the inside fully clean which allowed gunk to build up, and I wasn’t comfortable with metal straws since I’d heard the nightmare stories about damaging the roof of your mouth. (Someone actually sent me a thank you note after they’d used a Build-A-Straw for the first time. They’d had a bad experience with metal straw in the past.)
When I couldn’t find a straw I was happy with, I set out to make one. Here were my goals:
- Easy to clean both the inside and the outside
- Fit multiple cup/bottle sizes
- Easy to travel with
- Resilient and long lasting
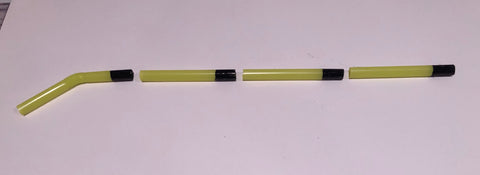
I played with the idea of a spiral shape for a few seconds before abandoning it (much too difficult to clean), and then the segmented idea came to me.
I grabbed a plastic straw, cut it into segments, then cut little slits into one end of each segment, allowing the segments to fit into one another. And scene!
Well, almost anyway. Knowing the flexible nature of silicone, I knew if I tapered the segments just right, I’d be able to get them to fit together and create a seal when attached.
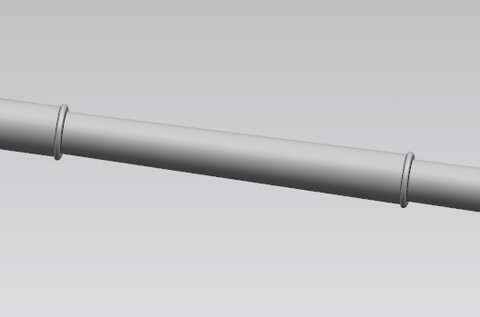
Homemade prototype > 3D design > 3D print > sample mold > production mold.

Told you it was a boring story!
But it really was that easy. Some products are like that. Others are not. Right now I have a product in development that I’ve been working on for five years. FIVE YEARS! I knew the problem I wanted to solve…but how? So most of that five year period was spent thinking. A little tinkering, but mostly thinking. I’m guessing I’m still almost a year out. There’s a product we’ll be releasing in the very near future but that’s not the one I’m referring to. When I finally nail the five-year-invention (six years?), I’m taking myself on a cruise and giving my tired brain a break!